Really ? How to install Linux Distribution in Windows 10
The Windows Subsystem for Linux lets developers run a GNU/Linux environment including most commnd-line tools, utilities, and applications directly on Windows, without the overhead of a traditional virtual machine or dual-boot setup.
Windows Subsystem for Linux
How to run Linux distribution in your Windows PC without the overhead of a traditional virtual machine or dual boot setup?
Virtual Machine
A Virtual Machine(VM) is a compute resource that uses software instead of a physical computer to run programs and deploy apps. It allows the running of an operating system that behaves like a completely separate computer on a Desktop. Click Here to Study More about VM
Dual boot setup
Most computers ship with a single operating system, but you can have multiple operating systems installed on a single PC. Having two operating systems installed — and choosing between them at boot time — is known as “dual-booting.”
Installation Steps
Step 1 - Enable the Windows Subsystem for Linux
Open PowerShell as Administrator and run
dism.exe /online /enable-feature /featurename:Microsoft-Windows-Subsystem-Linux /all /norestart
Step 2 - Enable Virtual Machine feature
Open PowerShell as Administrator and run
dism.exe /online /enable-feature /featurename:VirtualMachinePlatform /all /norestart
Step 3 - Download the Linux kernel update package and Run the updated package
Download the latest package Here
Step 4 - Set WSL 2 as your default version
Open PowerShell as Administrator and run
wsl --set-default-version 2
Step 5 - Install your Linux distribution of choice
Open Microsoft Store and select your favorite Linux distribution. Eg, Ubuntu, Kali Linux, etc.
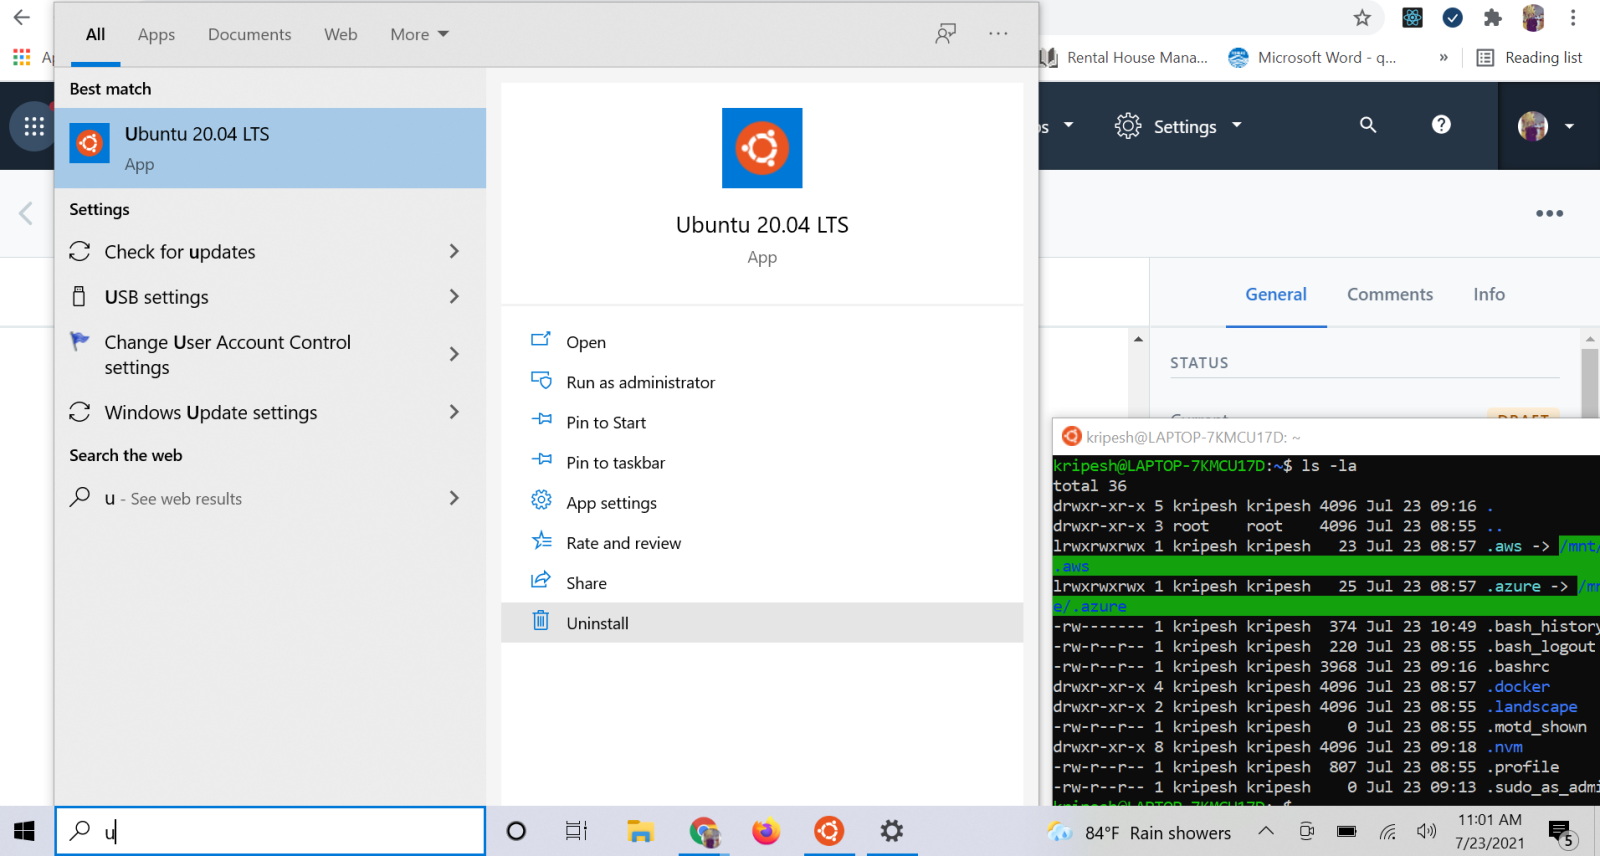
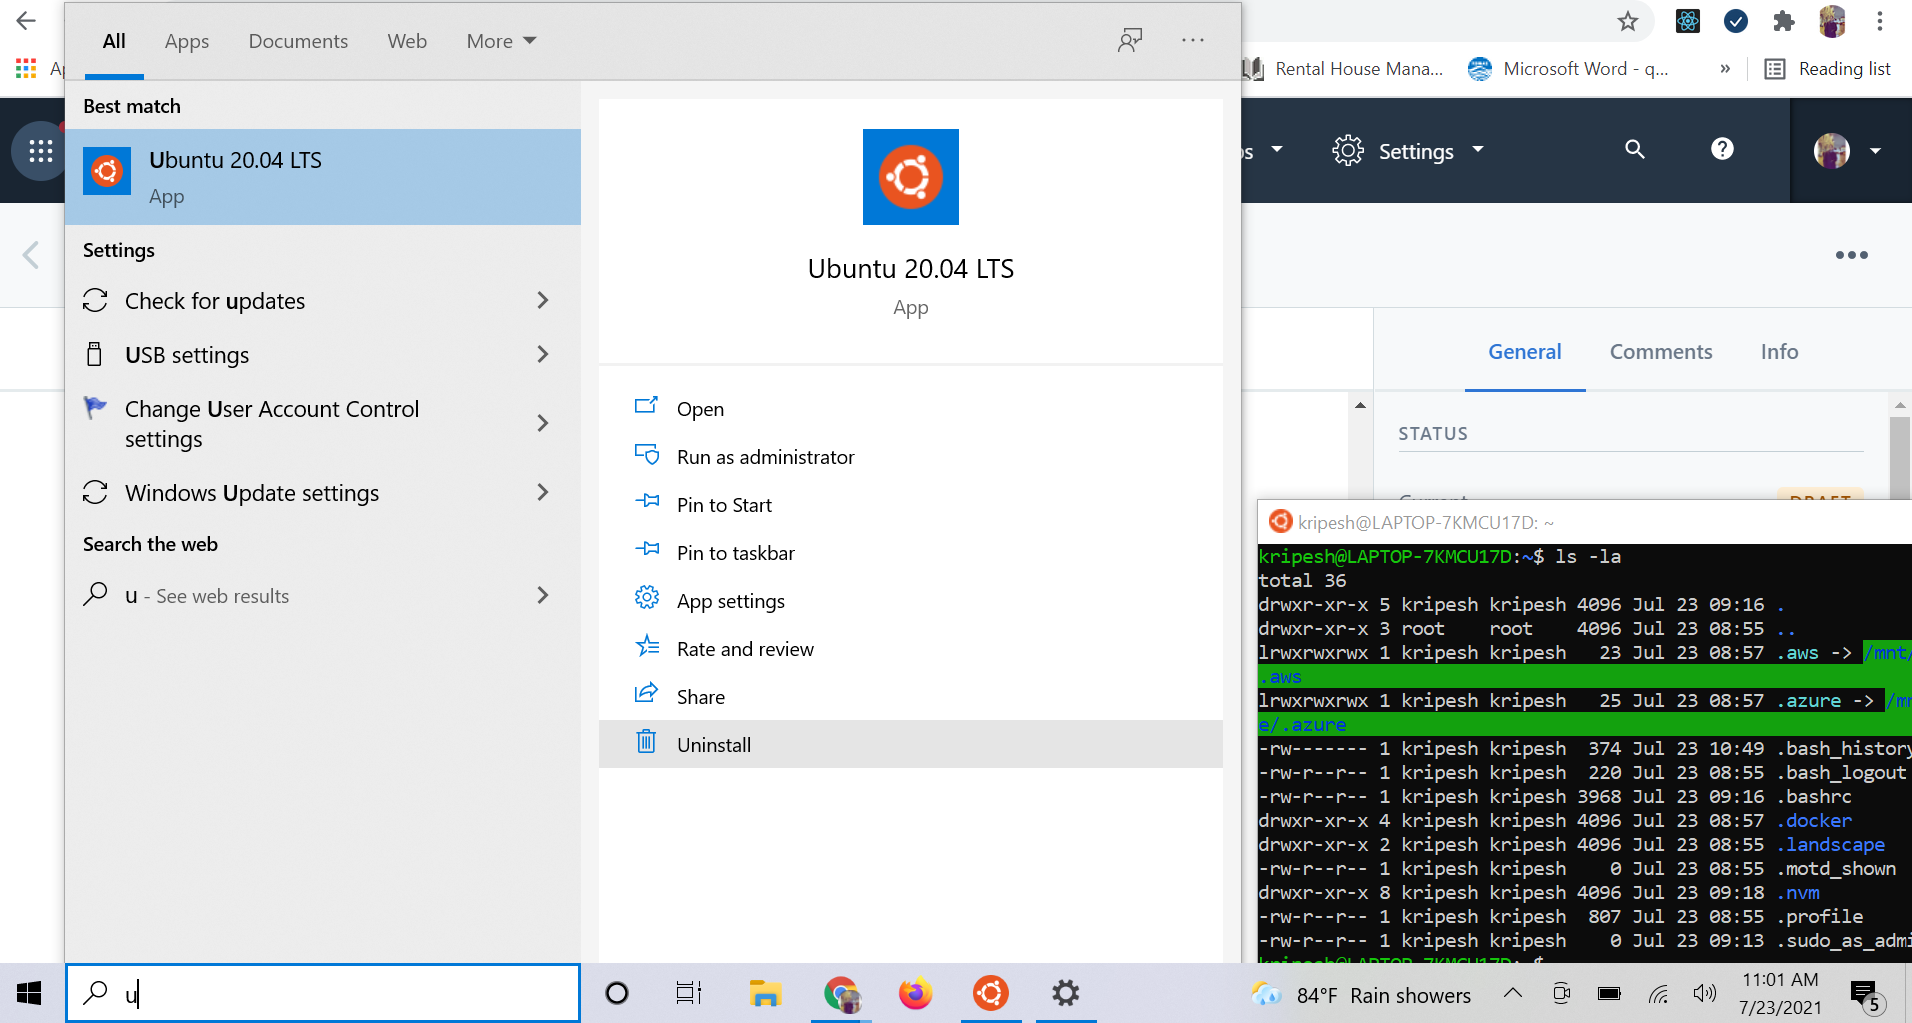
Now you are ready to launch your Linux in Windows 10.

You need to create a user account and password for your new Linux distribution.

